1970 Pontiac 400 Engine Top End Repaint
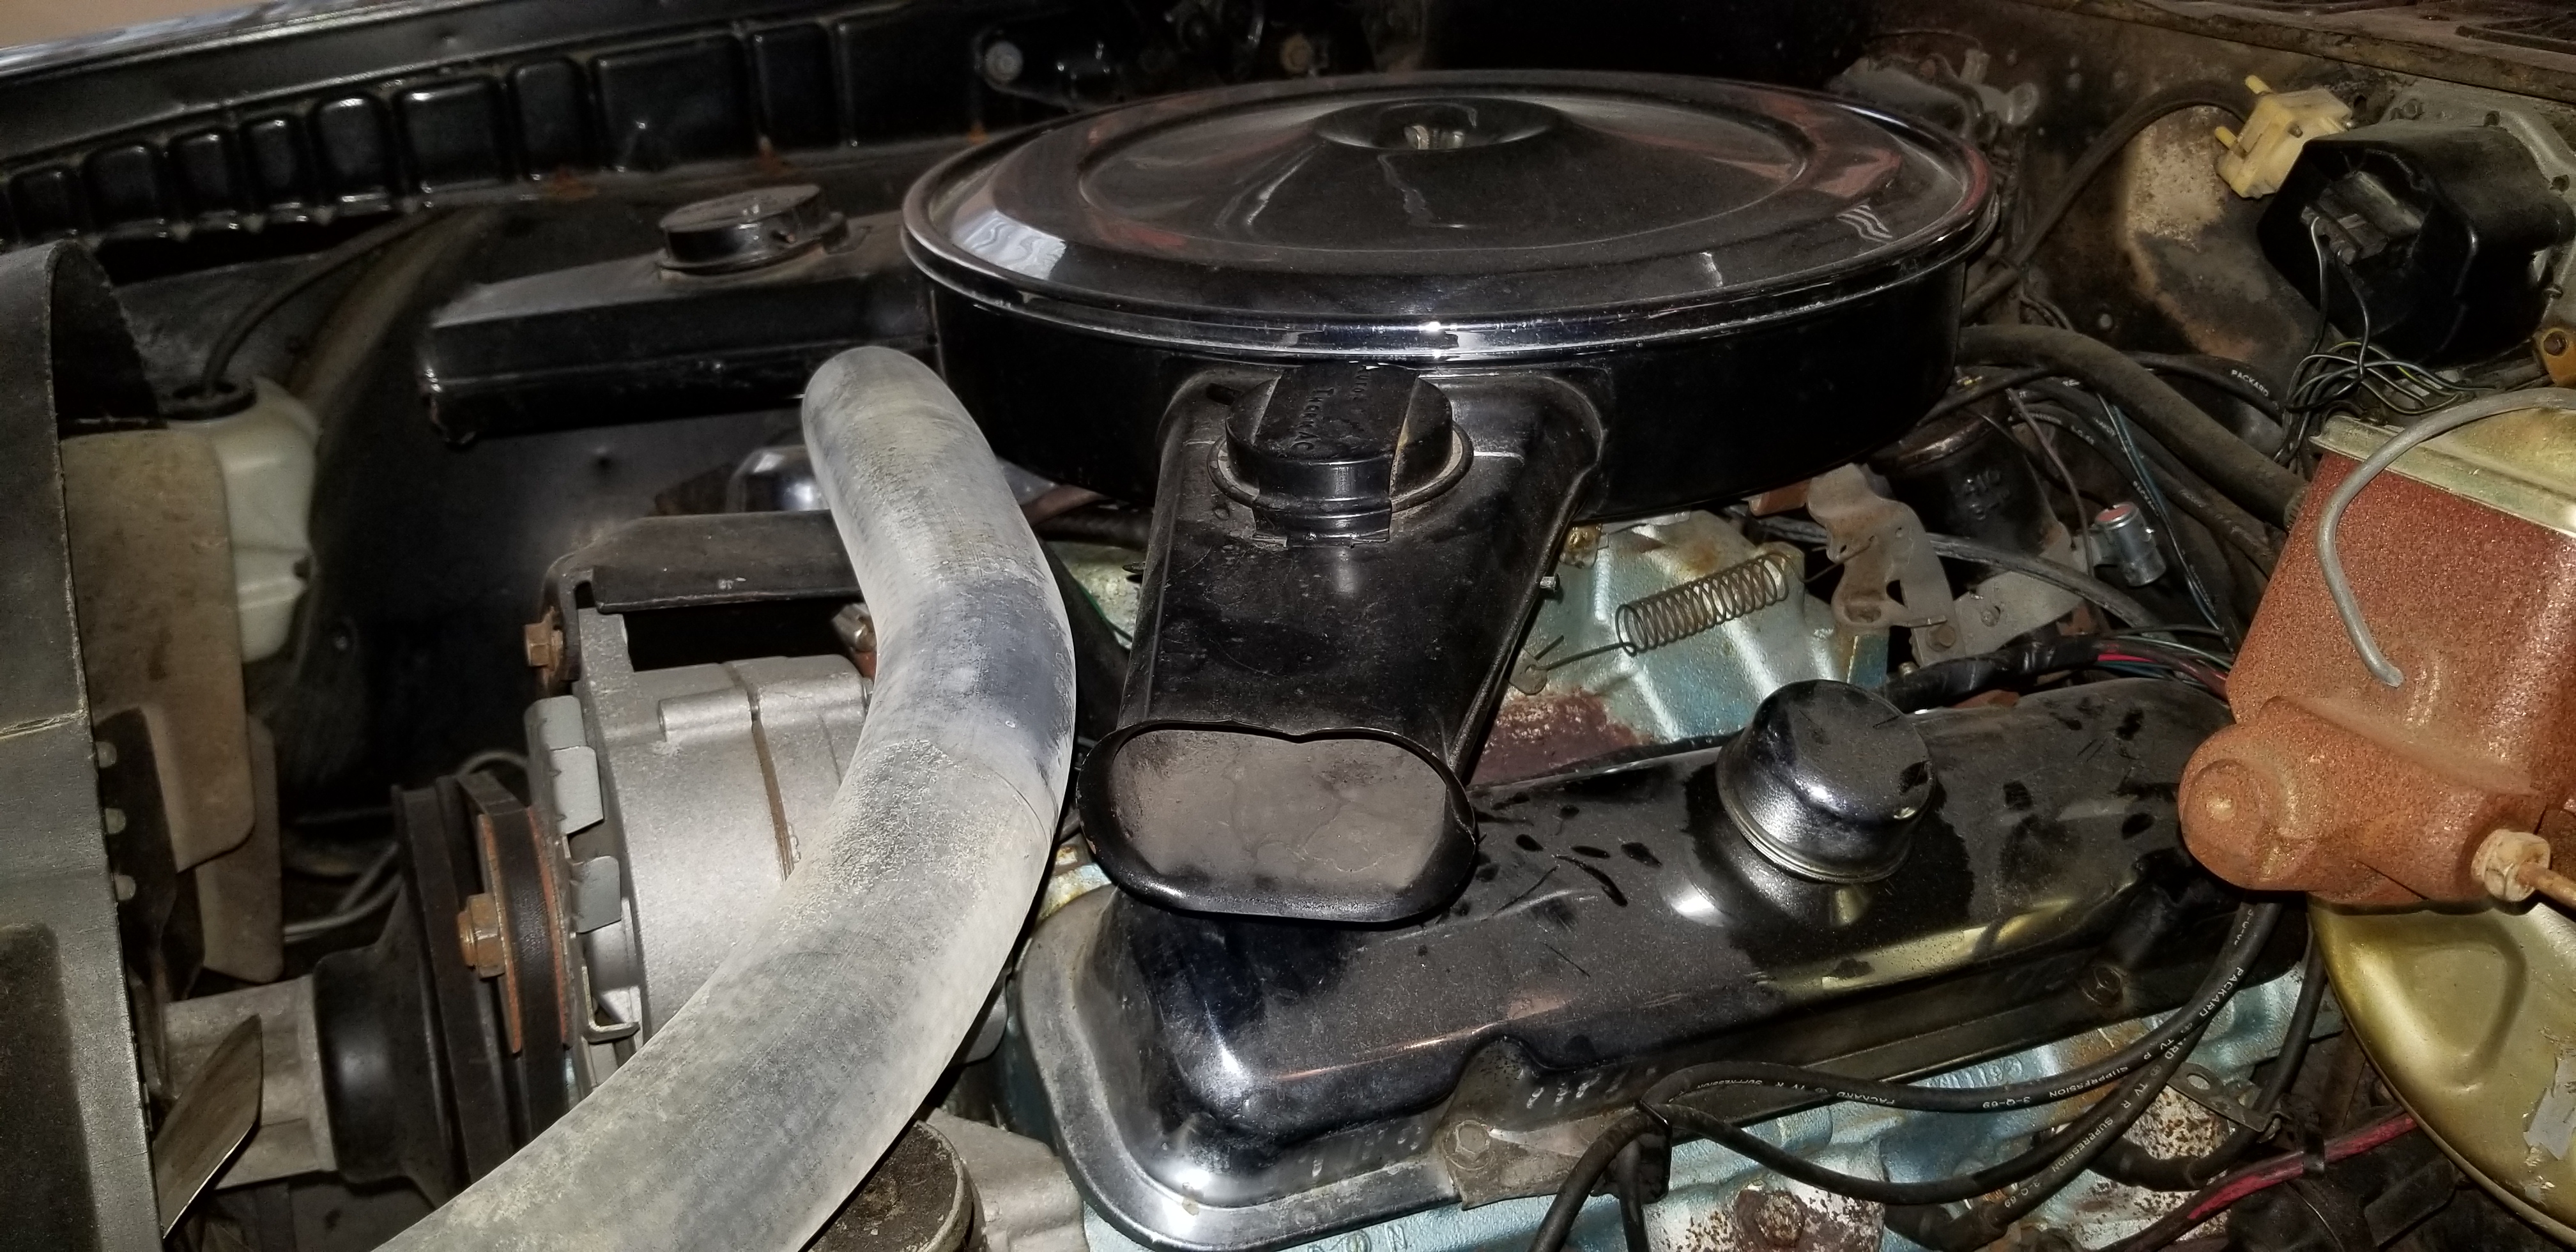
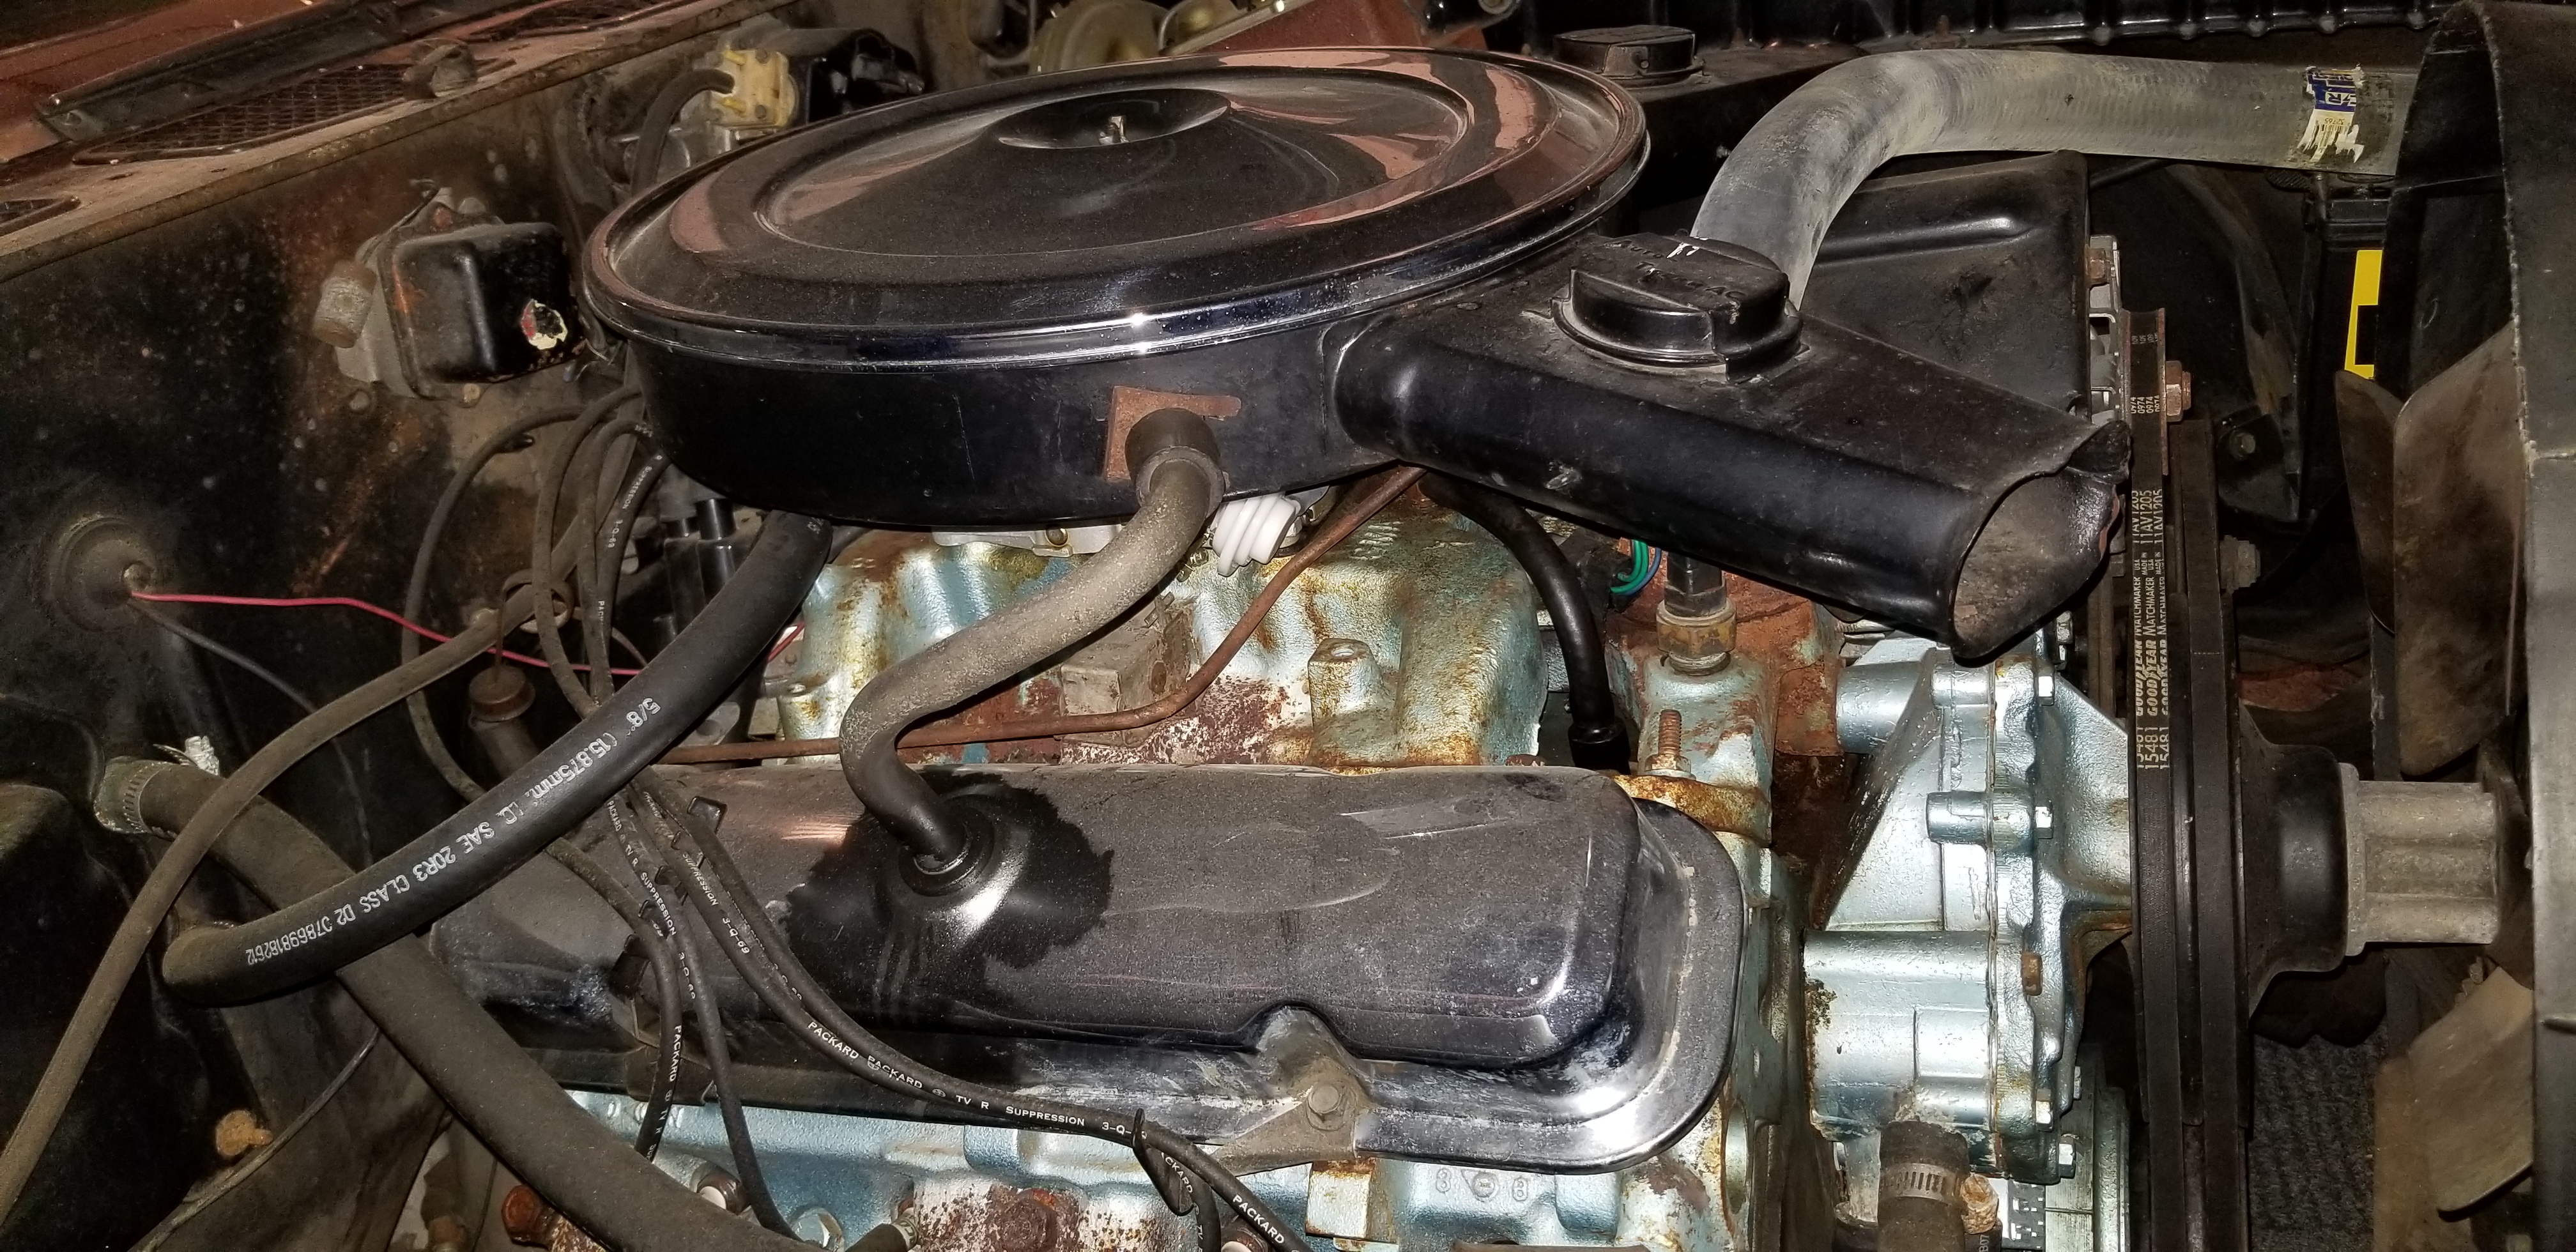
In this article I am going to repaint the 1970 Pontiac 400 Engine and detail the engine bay in my 1970 Pontiac GTO convertible without removing the engine from the car. I am going to remove and clean all parts that can be done with engine in the car.
I will give you the tools I used and explain where and how I used them. I will order some parts that I need that are broken or missing. I will refurbish my parts that are dirty, rusty or can be fixed.
If you just want to look at the details of taking the top of the engine apart or just looking to see where things go on the rebuild, follow the highlighted words.
My engine does not need a rebuild, so I am not going to pull it out. I will set up a camera to take pictures and you can follow along for how I progressed.
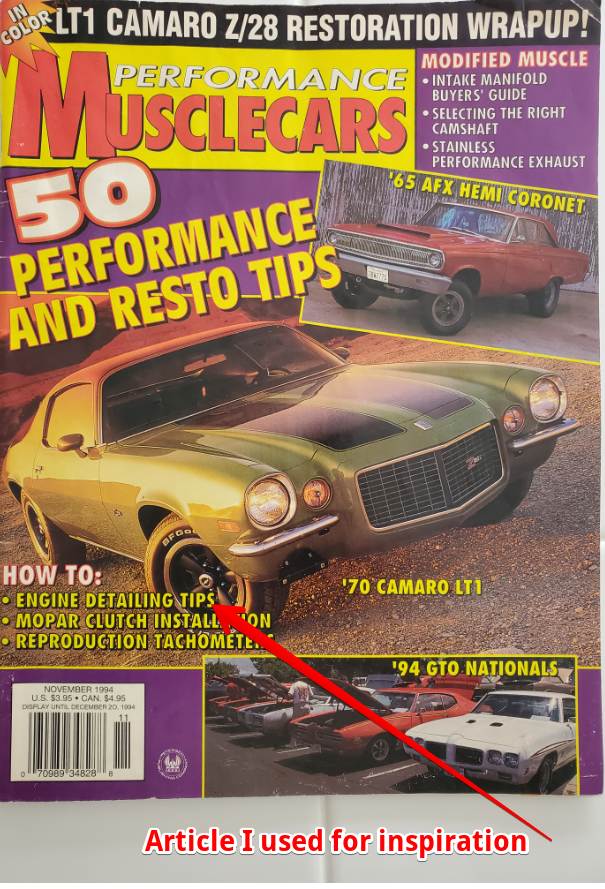
My inspiration for this repaint and upgrade came from a article in the November 1994 Performance Musclecars article by Jim McGowan (I do have a large collection of Automotive magazines with a Pontiac articles). He gave several detailing tips and tricks that he used to get rid of the grunge and turn the engine compartment into a show winner.
Where to start before you take the first thing off
Before you begin any removal of parts, you will need to look at what will need replaced and what can be refinished. I had several boxes of parts to choose from for things that where not on the engine the last time it was rebuilt (1996). A couple of things were broken or missing. Making a list of each before you start will help you when you have to order parts, I ordered the broken and missing items from Ames Performance, great place for car parts of this age.
As you will notice reading this article I took pictures of each step and part to make sure that every thing will go back together as close to stock as possible. Several books were also used to make sure my engine compartment looked as close to 1969 (my car was built in Sept 1969) as I could.
I used several note books to make list of what steps I took and bagged each screw in sandwich bags with labels to make sure I had all bolts and parts ready for reassembly.
Preparation is the key to any project like this, without it you will spend a lot more time putting things back together.
Things you will need before you start
This is a list of items I put together when preparing for this project, your list may be a little different, this may depend on your mechanical skills, some may be a lot handier than me when it comes to detailing work.
- Notebook and pencil
- Cleaning rags
- Fender protectors
- Proper lighting
- Pan to catch water from radiator
- Tools that will be needed (will list my tools used below)
- Wire wheel on a grinder or drill (I used both)
- Paint that you will need (several are needed and different for some years)
- Parts that need replacing or are missing (some take longer to get than others)
- Source for needed parts or rebuilding of your parts (Carbs do take a while to rebuild)
- A plan on what to do each day to get this done without taking months
The tools I used during this procedure
Although I have a Compressor and tools, I choose not to use them on this project to keep from breaking any bolts off. This is a list of the tools that I used during my tear down and rebuild.
- 1/2 inch ratchet and torch wrench-15/16, 9/16, 1/2-6 and 10 inch extensions
- 3/8 inch ratchet-1/2, 9/16 sockets- 4 and 6 inch extensions
- Open end wrenches 3/8,7/16, 1/2, 9/16, 5/8, 11/16, 3/4 and 1
- Pipe end wrenches 3/8,7/16, 1/2, 9/16, 5/8 and 11/16 (this may keep /you from rounding out the fuel and transmission lines)
- Box wrenches 1 1/8 and 15/16 for sensors on intake
- BFH if something won’t come apart when needed
- Standard screwdriver (for the hose clamps and prying stuff loose)
- Nut driver-11/32 (coil nuts)
- Bench grinder with wire brush
- Cordless drill with several wire brush options
- Vacuum to pick up loose debris-Don’t tell your wife
- Three lights, Clamps and towels
- Tables for sorting parts
- Blue painters tape
- Dish soap to clean grease (I like to use Dawn)
- Goop hand cleaner
- Fan on a stand to keep me cool (no Air conditioner in my garage, just like my car)
- Pressure washer to clean parts
- Form a Gasket
- Reference Books or Pictures
Stuff I purchased for the detailing
I did get some stuff before I started that would help me in my task of getting my detailing project done. Your list will be different if you have more or less of a project to do.
- Paint-engine blue, VHT clear, VHT primer, VHT 60 degree black
- Dawn for cleaning parts
- Goop for cleaning my hands
- Small snack bags to sort bolts
- Rags for cleanup
- 0000 Steel wool for polishing parts
- A few parts that were missing or needed replacing
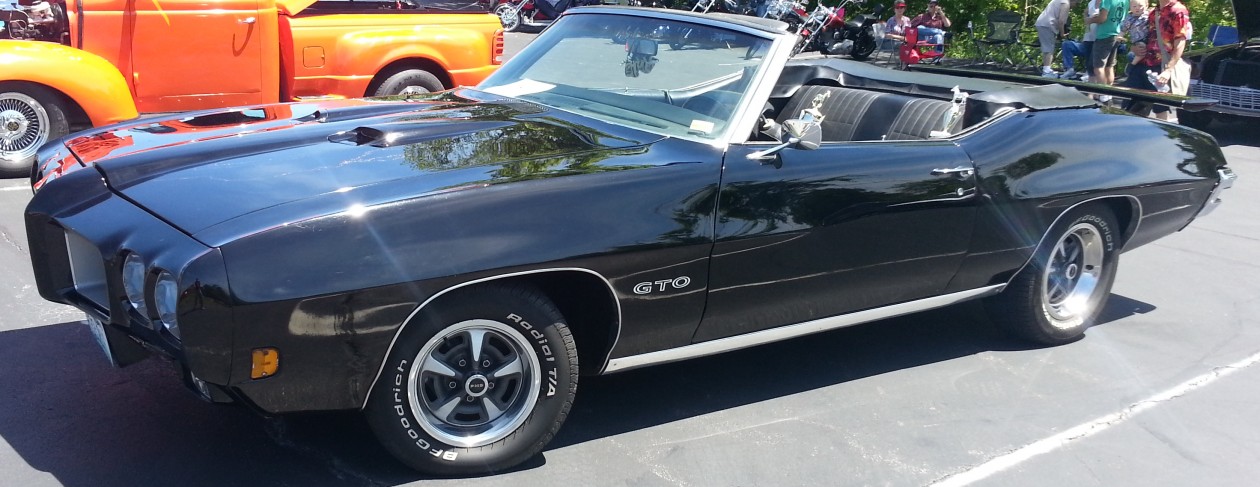
A little about the car we are working on

This is an early production (built in Sept 1969) 1970 Pontiac GTO convertible. It came from the factory with a standard 350 horse motor, a column shift automatic, bucket seats, power steering, power disk brakes and tinted windows.
I purchased the car in 1985 and have owned it since. It has several modifications since I purchased it, now it has a center console with shifter, rear wing, upgraded sway bars, all new dash wiring, gauges in dash including a tach all correct for this year car.
A repaint in 1993 added new seat covers, new convertible top and door cards. A motor rebuild was done in 1996 to cut compression and add hardened valve seats. A new dash pad in 2005 included all new dash wiring.
My car has been driven all over the eastern United States and Canada during the time I have owned it. It always get a thumbs up where ever I go. I just do not want to open the hood when at car shows lately.
This redo on under the hood is well overdue. I hope to inspire you or someone you know to take on a project like this and not be intimidated.
Are you ready to get started
Now that you have read this far about Detailing Tips and Tricks for a 1970 Pontiac 400 Engine, are you ready to take this task on. I will be posting an article on the tear down and detailing while putting things back together shortly, follow the highlighted areas to go to these post when they are up.
Use this link to follow me to the next step – teardown
Any questions or comments on this post please leave me a note with the forms below and I will get back to you shortly.